HomeSchoolsSchool of Mechanical and Materials EngineeringMetallurgy and Material EngineeringLaboratories
- About
- Faculty
- Achievements and Awards
- Laboratories
- BOS Committee and Mom
- Dept. Committees
- Research Projects
- Time Table
- Curriculum
- STTPs
- Notice Board
-
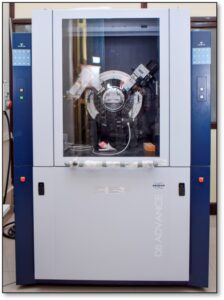
X-Ray Diffraction (XRD) Bruker, D8 Advance Fully equipped lab with XRD machine (Bruker, D8 advance) with Davinci design for characterization and analysis and use for - Phase Identification
- Crystalline size measurement
- Residual Stress measurement
- Retained austenite measurement
- Profile fitting
- Quantitative Analysis
- Smallest increment: 0.00010 °
- Sample Size: Powder 5 gm; Solid sample :dia. & thick < 5 cm
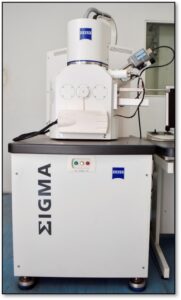
FE-SEM,(Carl Zeiss, Sigma 40) FE-SEM,(Carl Zeiss, Sigma 40) used for - Failure analysis
- Investigation of defects
- Surface topography
- Elemental analysis (EDS)
- Mic0structural analysis of inclusion & others
- HAZ in weld metals
- High resolution images of ferrite, pearlite, martensite, austenite etc.
- Resolution: 1 nm or better @ 30 KV or 1.5 nm or better @ 15 KV or 3 nm or better @ 1 KV
- Record images from 15 X to 8,00,000 X magnification
- Sample Size: 15 x 15 x 15 mm max, Powder 1 gm max
FTIR (Fourier Transform Infrared Spectroscopy ) 4100, JASCO Fully equipped lab with FTIR (Fourier Transform Infrared Spectroscopy ) 4100, JASCO use for - Structural analysis of matrix and composite
- Identification of unknown compounds
- Quantitative information like additives or contaminants
- Kinetic information through the growth or decay of infrared absorptions
- Failure analysis
- Measurement wave number range 7,800 to 350 cm-1
- Wave number accuracy: Within ± 0.01 cm-1
- Resolution: 0.9 cm-1
UV spectrophotometer , V630, JASCO UV spectrophotometer , V630, Jasco use for chemical analysis - Quantities and qualitative analysis
- Detection of impurities,
- Wavelength range: 190 to 1100 nm
- Wavelength accuracy: ±0.2 nm (at 656.1 nm)
- Wavelength repeatability: ±0.1 nm
- Photometric range: ±10000 %T, – 2 to 3 Abs
DSC TGA, Linseis STA 1600 ,(up to 10000C) Linseis STA 1600 use for simultaneous changes of mass (TG) and caloric reactions (HDSC) of a sample - Caloric reactions (HDSC) include
- Enthalpy,
- Melting energy
- Specific heat
- Glass point
- Crystallinity
- Reaction enthalpy
- Thermal stability
- Oxidation stability
- Aging and Purity
- Phase transformation
- Temperature: -150° C up to 1600° C
- Sample size :dia . 4-6 mm, length – 10-50 mm, mass- 5 to 50 g,
- Resolution :0.025 μg
- Vacuum: 10-5 mbar
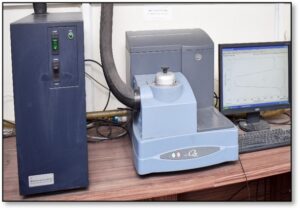
Differential Scanning Calorimeter (DSC)Q20, TA Instruments DSC Q20(TA instruments) use for measure temperatures and heat flows - Glass transitions,
- “cold” crystallization,
- phase changes, melting, crystallization,
- product stability, kinetics
- Temperature: RT to 725˚ C
- Accuracy +/- 0.1˚ C
- Precision +/- 0.05˚ C
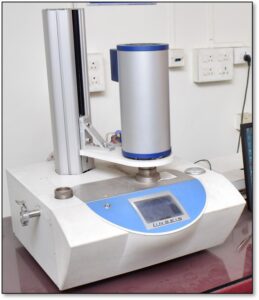
BET Surface Analyzer Use for surface area measurement of minerals, powdered metals, organic materials etc. - Range : 0.1 m²/gm-2500m²/gm
- Reproducibility : Better than ± 3%
- Accuracy : Better than ± 5%
- Analysis Time : Around 10-15 minutes/sample
Dilatometer-801 , TA Instruments DIL 801 TA Instruments use for dilatometric tests, under vacuum inert gas , air. for ceramics, glasses, metals, and polymers etc. - Sample Size Solid < 1 x 1 x 1 mm
- Powder < 1 gm
- Temperature range: RT to 1500° C
- Length Resolution:10 nm
- Temperature Resolution: 0.05° C
- Accuracy in α: 0.03 x 10⁻⁶ K-1
- Contact force: 0.02 to 1 N,
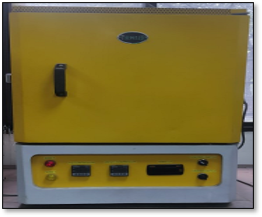
Muffle furnace (up to 1700o C) Therelek Muffle furnace Therelek - Temperature: 1700° C
- Heating Elements: molybdenum disilicide (MoSi2)
- Heating chamber:2500*150*150 mm (L*W*H)
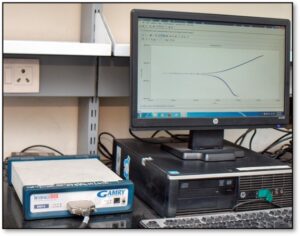
Galvanostat/ Potentiostat Interface 1000 (Gamry) Galvanostat/ Potentiostat Interface 1000 (Gamry) Used for testing of physical electrochemistry, - Electrochemical corrosion
- Paint, coatings and sensors
- Current Range: 9 (10 nA – 1 A)
- Max. Current :± 1 A
- Noise and ripple < 20 μV rms
- Min. current resolution : 3.3 fA
- Impedance measurements: up to 1 MHz
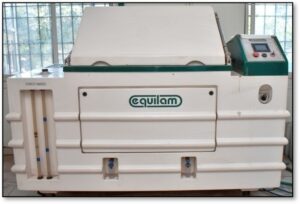
Cyclic Corrosion Test, Equilam Cyclic Corrosion Test , C.C.T – CORR Series, Equilam - Mode: Salt spray(Salt Fog) Condensed humidity, Natural dry, dry off, spray, Climatization etc.
- Analysis of corrosion resistance of materials and surface coatings as per ASTM B117 – ASTM G 85 – ISO 9227 – JIS Z 2374 – DIN 50021
- Volume: 3000 L
- Temperature: 50 – 750 C
- Resolution of temperature controller: 0.1° C.
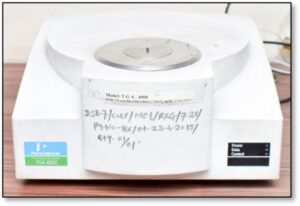
TGA 4000, Perkin Elmer Used for - Sample volatility, Moisture content,
- Oxidation stability, Decomposition temperatures,
- Carbon black content,
- Performance of stabilizers,
- Ash Content
- Temperature: 1000 °C
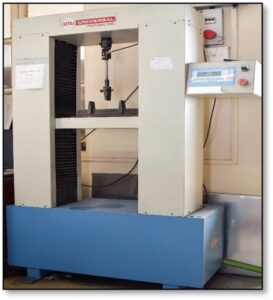
Universal Testing Machines (2T), Universal Motion Inc. Universal Testing Machines (2T), Universal Motion Inc. - Used for polymer and composites testing such as tension, compression, bend flexural
- Capacity: 2000 Kg
- Load accuracy: 0.2 % on full scale
- Distance between grips: 25-800 mm
- Least count: 0.1 Kgf/1Kgf
- Analysis of wear resistance, Friction and tribological properties with or without lubricants
- Wear Measurement: 0 to 1200 µm
- Rotational Speed: 200 to 2000 rpm
- Load: Up to 200 N
- Frictional Force Measurement: up to 200 N
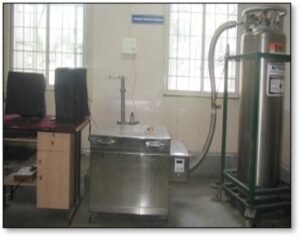
Cryogenic Treatment Setup
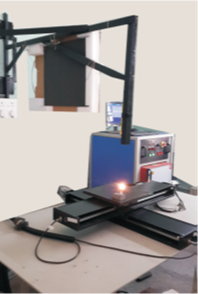
Use for cryogenic treatment for various materials Temperatures : low as -185°C, Liquid nitrogen bath with computerized control of thermal cycles.Capacity (bath): 2*2*2.5 Ft. (L*W*D)400 W Fiber Laser with CNC XY Table. used for
- Shaping
- Localized Heat Treatment
- Surface Processing/ Conditioning
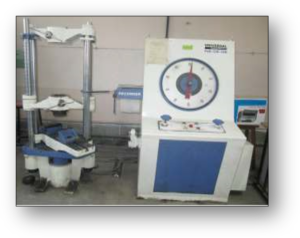
Universal Testing Machines (10T, 20T,60T) Universal Testing Machines (10T, 20T,60T) - Load capacities: 10T, 20T (Servo control) and 60T
- Statistical evaluations of Results
- Load Stabilizer at any point of time for duration of maximum 1 Hr (for 20T)
- High temperature testing up to 1000 0C (for 2oT) UTM
- Electronic Extensometer attachment
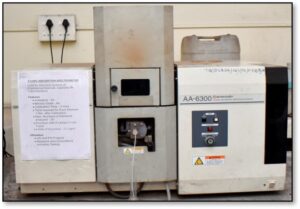
AA-6300 SHIMADZU, Japan with wide range of lamps for analyzing elements such as Fe, Ni, Co, V, W, Mo, Hg, Cd,Li, Bi, Mn, Sb, Nb, Cu, La, Al, Si, Sn, Zn, Pb, Mg, Ca, Be, Na, K, P, In, Ga.
Gold (Au) and Silver (Ag)
Accuracy:0.1 ppm
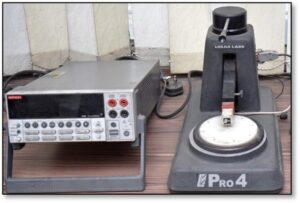
4 Point Probe Conductivity Meter, Lucas Lab Used for conductivity measurement Dual Configuration test method as per ASTM F84,
standard range: 1 mΩ to 800 K Ω per square
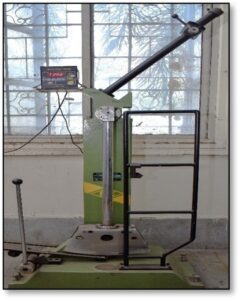
Pendulum Impact Tester, IT-30, FIE Pendulum Impact Tester, IT-30, FIE, use for Izod and Charpy test as per BS:131-4 & BSEN:10045- 2 - Maximum Capacity Izod: 300 J
- Maximum Capacity Charpy : 168 J
- Max. Scale Graduation: 2 J

